2026-07-31
Content
Using physics teaching instruments correctly comes down to three habits: select the instrument that matches the measurement range you need, connect or position it according to its wiring or optical diagram, and read the scale at eye level before recording data. Most classroom errors happen not because the equipment is faulty, but because students choose the wrong range on an ammeter or voltmeter, or misalign an optical bench. Once teachers standardize these three steps, experiment accuracy and student confidence both improve noticeably.
A typical secondary school physics lab is organized around five instrument families: electrical experiment equipment, electromagnetic experiment equipment, thermal experiment equipment, optical experiment equipment, and mechanics experiment equipment. Each family serves a different branch of the syllabus, and knowing which category a task belongs to is the first step toward using the tool correctly.
Electrical experiment equipment is the most frequently used category in any teaching lab, so it is worth walking through the standard procedure once in detail.
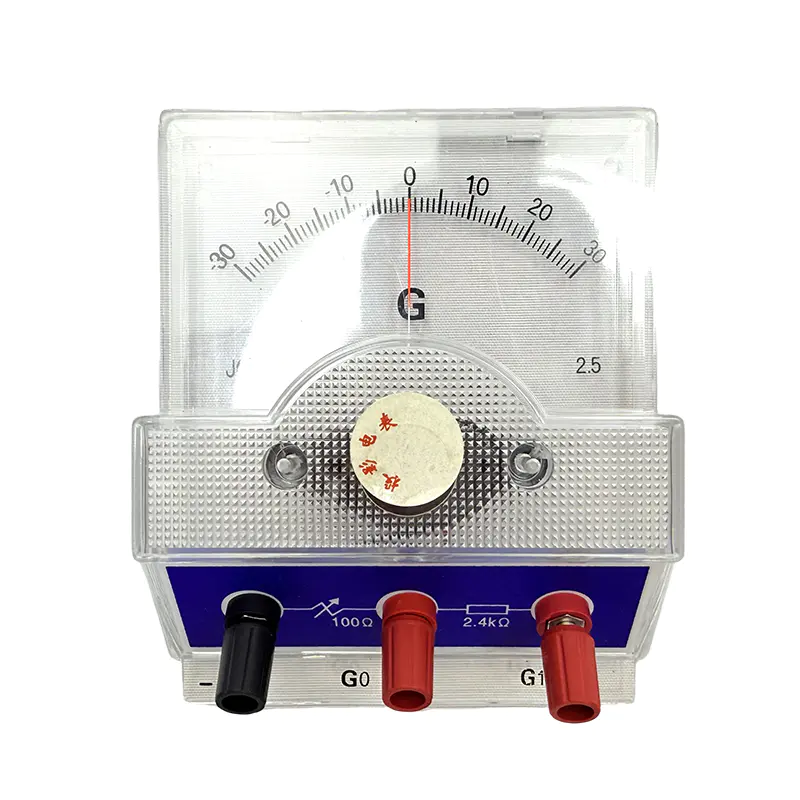
Precision instruments only stay accurate if they are checked before use. Projection ammeters, projection voltmeters, and projection galvanometers are especially popular in demonstration teaching because they enlarge the scale for the whole classroom, but this also means calibration drift is easier to spot and correct.
| Instrument | Typical Use | Calibration Check |
| Analog ammeter | Series current measurement | Zero-point adjustment screw before power-on |
| Digital voltmeter | Parallel voltage measurement | Compare against a known reference cell |
| Projection galvanometer | Whole-class current demonstration | Check lamp alignment and focus weekly |
| Optical bench lens | Refraction and focal length study | Verify rail markings and lens centering |
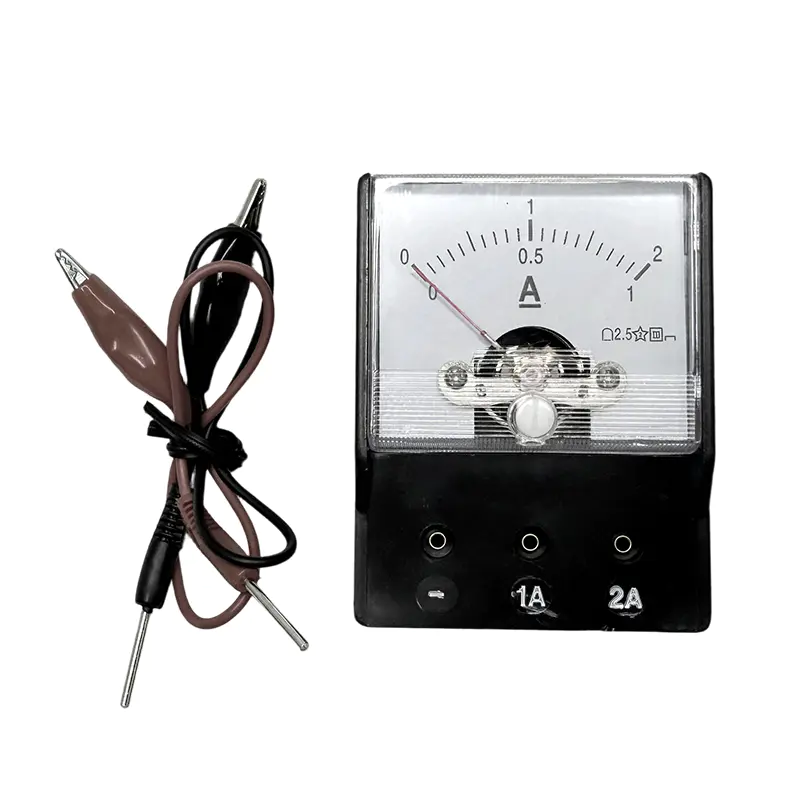
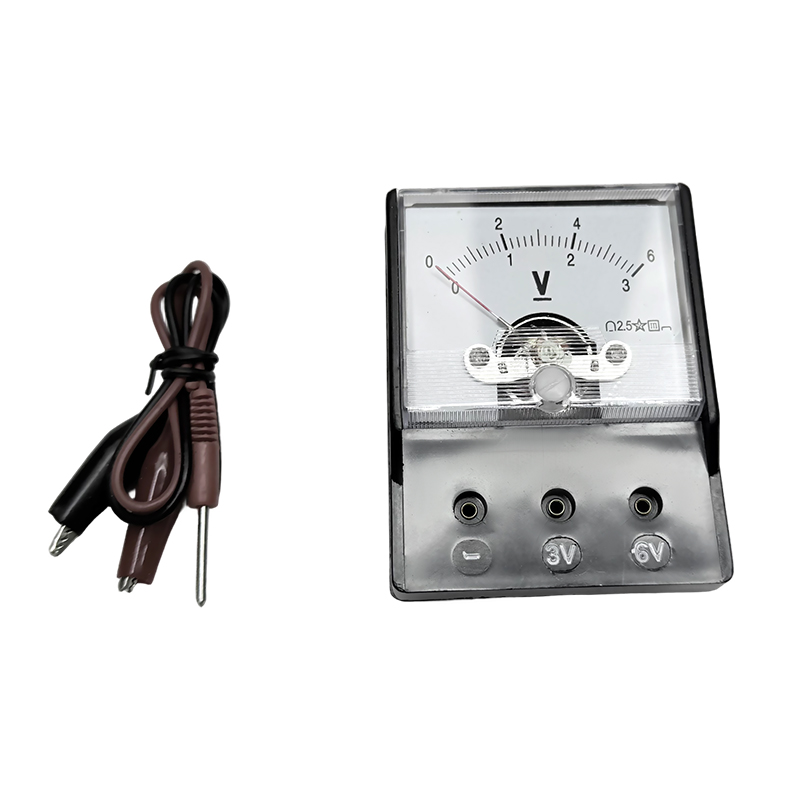
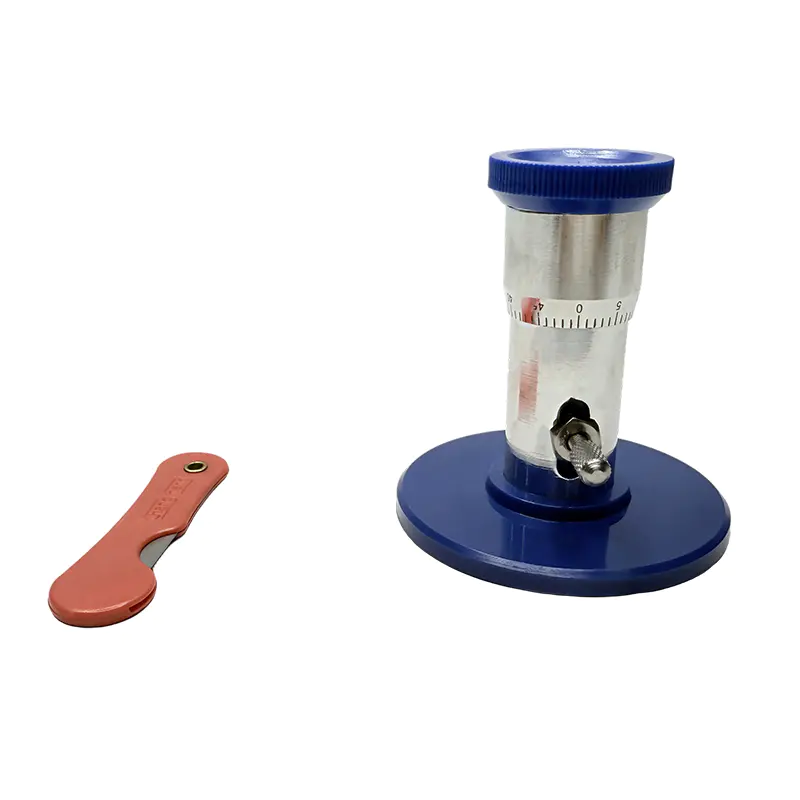
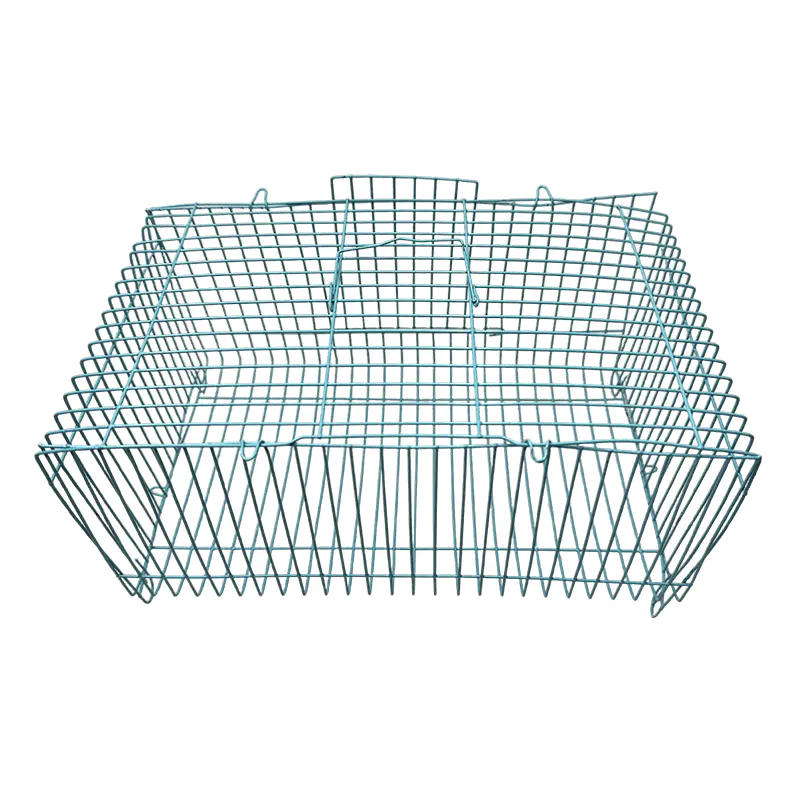
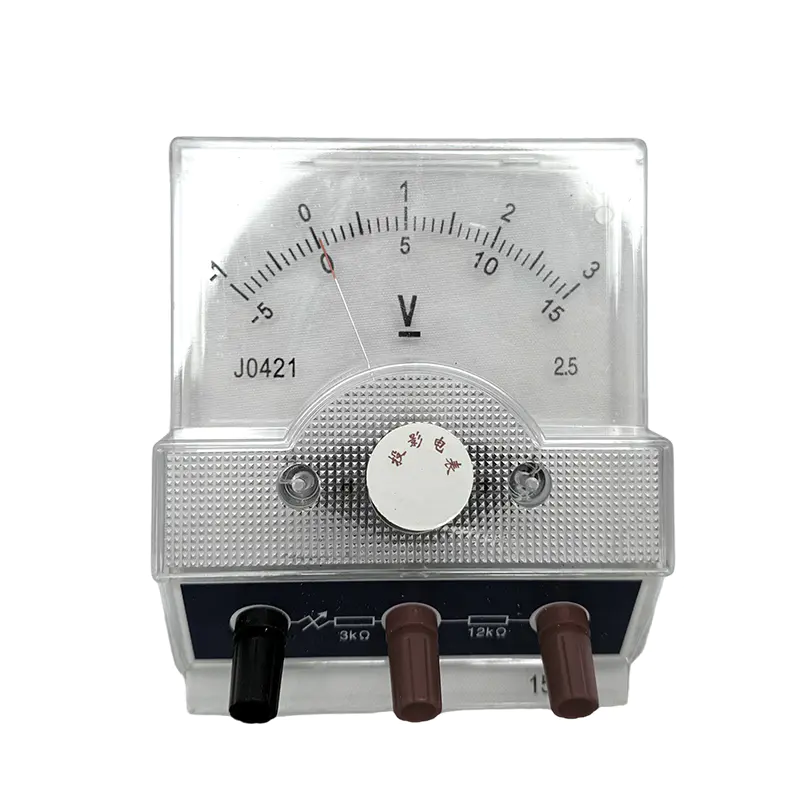
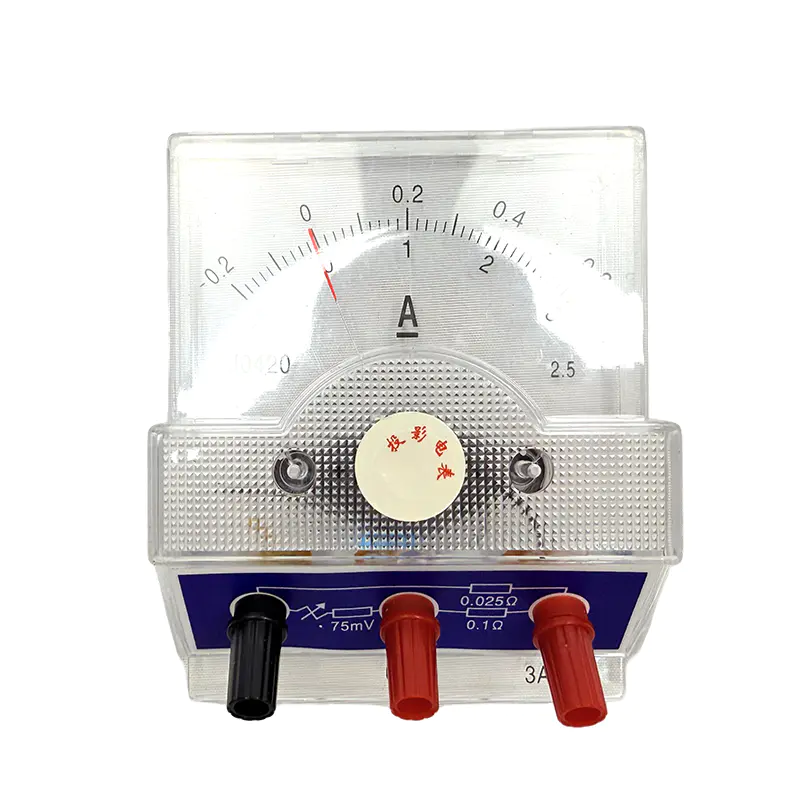
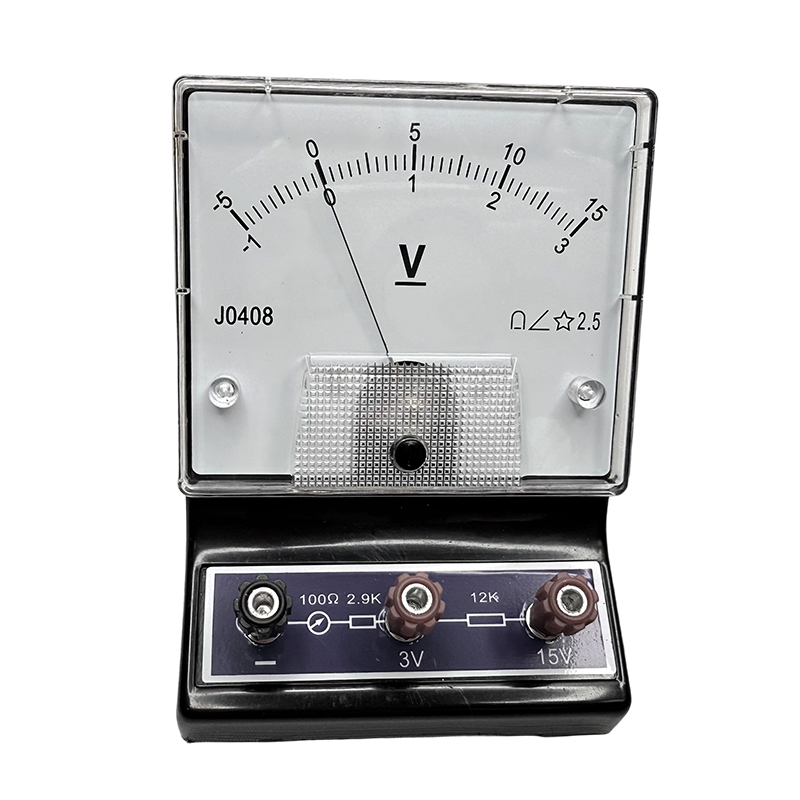
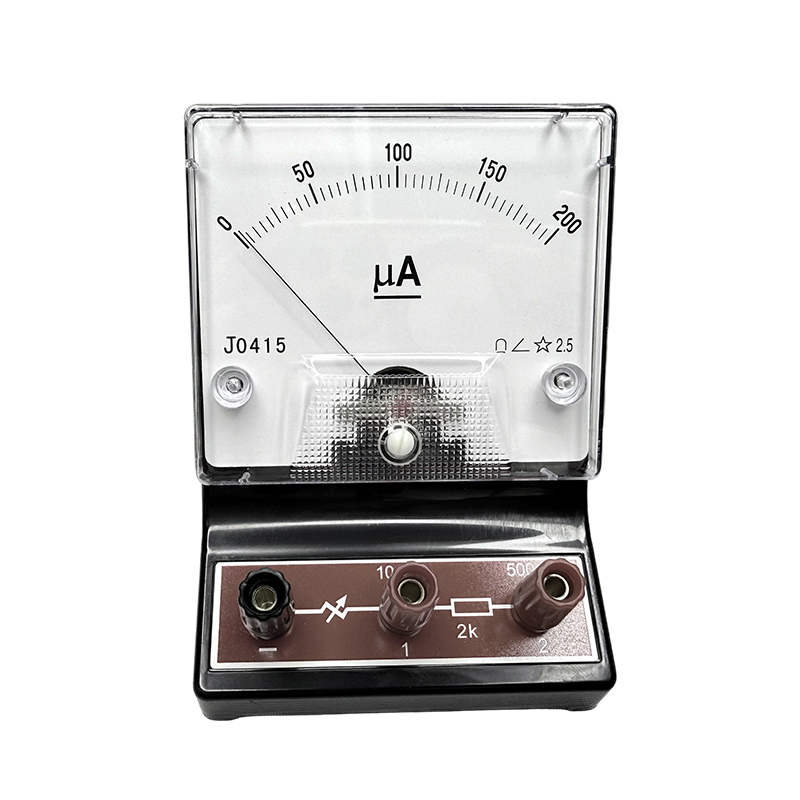
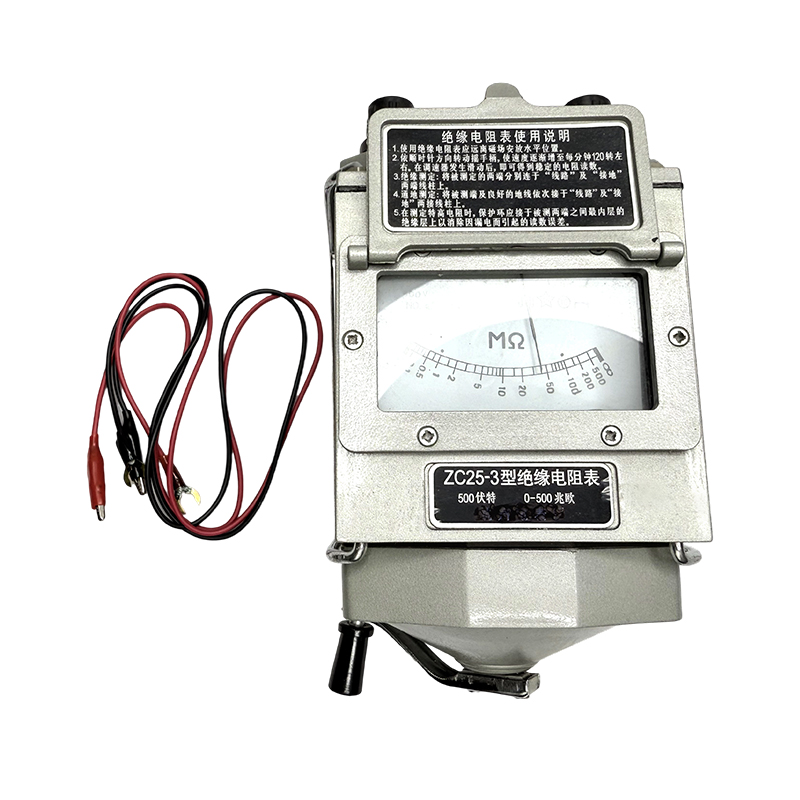
The instruments below represent common entry points for classroom electrical circuit teaching, ranging from standard student meters to projection-scale demonstration units.
Physics teaching instruments are generally low-voltage and low-risk compared with chemistry lab equipment, but a few habits prevent most classroom incidents.
Consistent maintenance extends the working life of educational measuring equipment well beyond its typical replacement cycle.
| Task | Frequency | Reason |
| Wipe meter glass and dial | Weekly | Dust buildup affects reading clarity |
| Check zero-point setting | Before each class | Needle drift causes systematic error |
| Inspect wiring and terminals | Monthly | Loose contacts create false readings |
| Store in dry cabinet | Ongoing | Humidity corrodes coils and contacts |
Beyond correct usage, the durability of physics teaching instruments depends heavily on manufacturing quality. Schools sourcing school teaching aids & supplies should look for suppliers offering a documented quality management system, a broad catalog spanning electrical, electromagnetic, thermal, optical, and mechanics experiment equipment, and export experience that indicates consistent product standards across markets. A supplier that also produces biology teaching instruments, chemistry teaching instruments, and geography teaching instruments under one roof often provides more consistent after-sales support, since procurement, spare parts, and technical guidance can be handled through a single channel rather than multiple vendors.
Recommended Products


+86-18630650508 +86-0574-62500588

+8618630650508

 No. 588, Chaoyang South Road, Ditang Street, Yuyao, Ningbo City, Zhejiang Province, China


 English
 русский
 Español